
Happy St. Lucy's Day.
We celebrated by baking and making a craft. It was a fun filled day inside as it is dark and gloomy out today. This tradition has become quite special to us...something that Freckles and I really look forward doing for her daddy and brother. Sadly today our guys had to do finals today so they missed most of the day. We will still have some fun later tonight and play some games, eat our cookies and St. Lucia cake.


We made Swedish Peparkakor Cookies
and decorated them with white icing...so fun, simple and yummy.

The past several years we have made
St. Lucia Buns...
But, this year we decided to try our hand at making a
St. Lucia Crown Cake.

It was very good. it takes time to make but worth it...
It is quite tasty with a cup of hot tea. We will definitely do the crown cake again.


The candles were aglow, our little St. Lucia served the cake...It was really delightful. Then later today we made St. Lucy ornaments. They are so cute...I thought I would share with you how we made them.
So here you go, a tutorial.

Ingredients:
White yarn, red yarn, a piece of green yarn, wooden bead for head,
yellow paint, skin color paint, pink paint for cheeks, black permanent fine tip pen,brown or red pen for lips,glue, and hot glue, sturdy cardboard pieces.
****
1. I cut out a couple cardboard pieces to use for wrapping the yarn around. Cut one cardboard piece 3 1/2 X 4 for the body skirting and one 2 1/2 X 4 for the arms. Take the cardboard piece for the body and wrap the yarn around the board 25 times. set aside. Do the same for the arms except going around 15 times. Take two 3 inch pieces of white yarn and tie and knot off each side of the arms to create the hands.
See picture # 1 and # 2
2. Now take the wrapped body piece off the cardboard carefully and insert the arm piece right through at the top. See picture #3. Tie and knot off the top section securing
the body and arms together as shown in that picture.
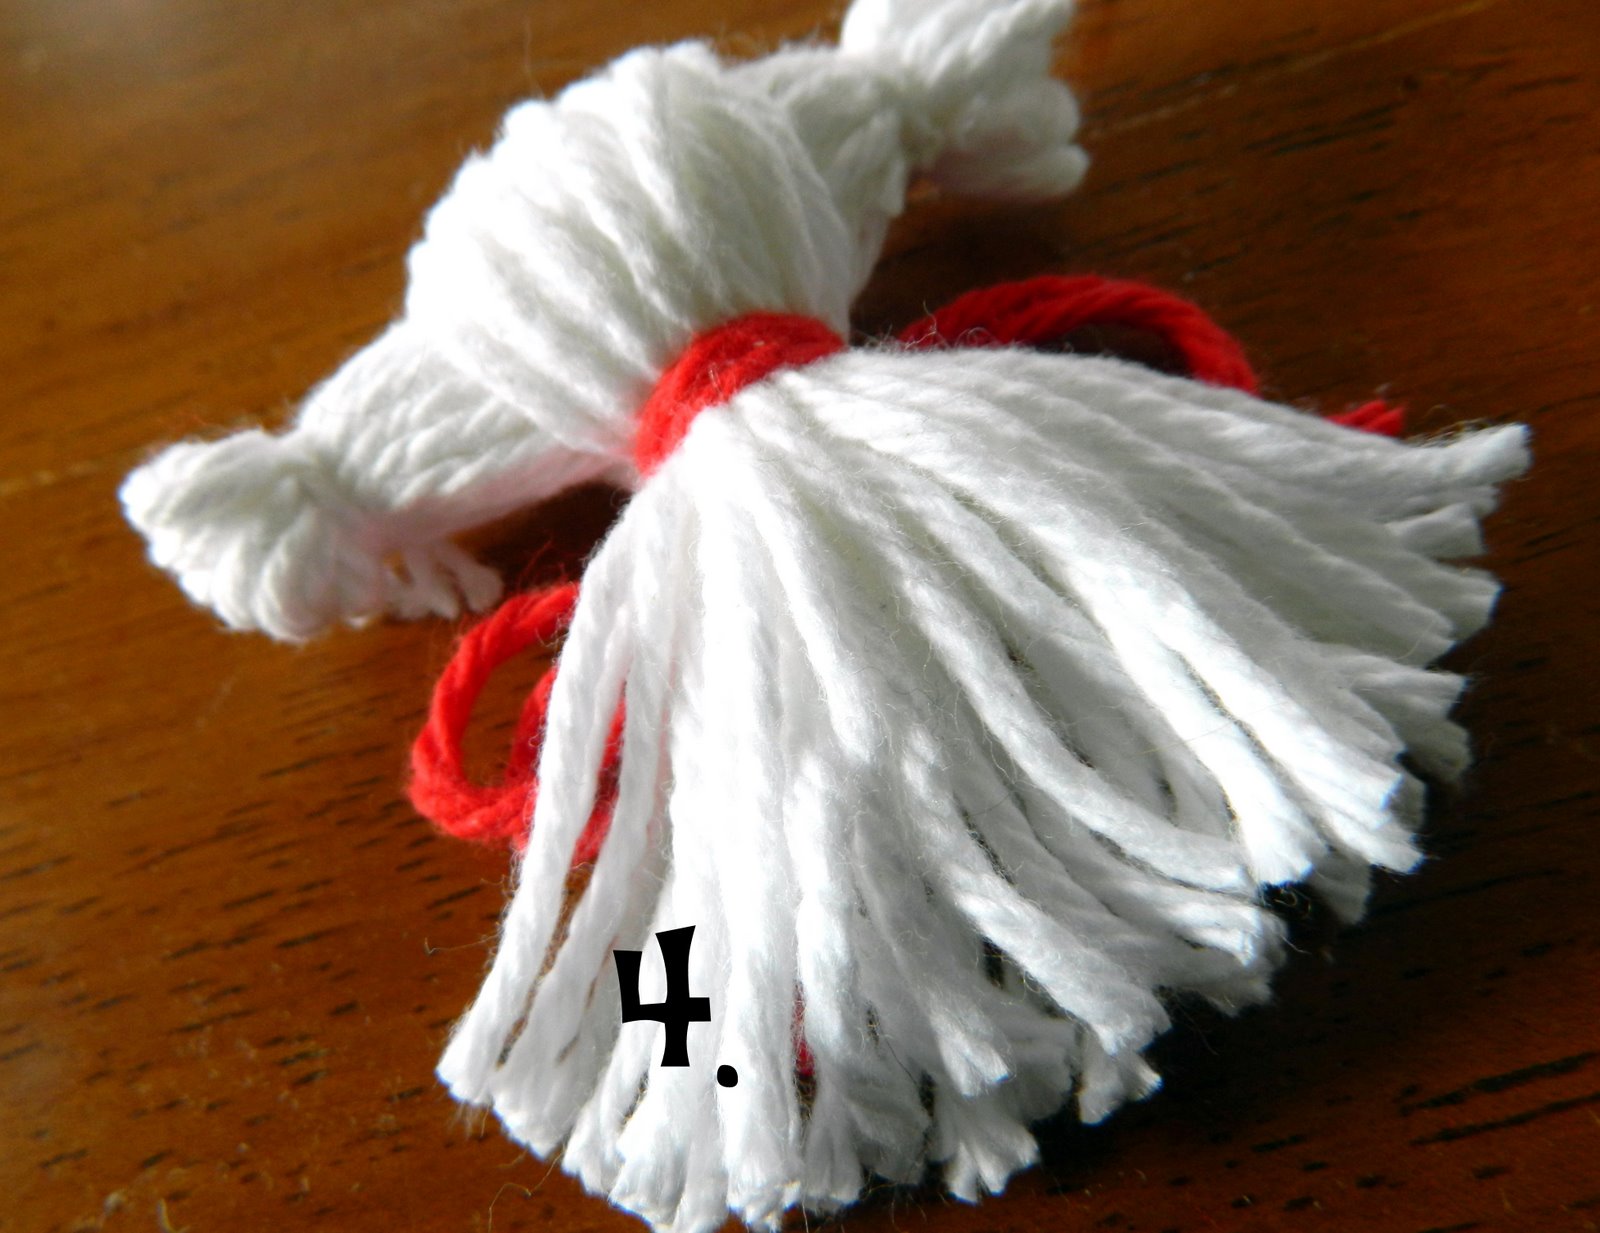
3. Now cut two 6 inch red lengths of yarn and tie it right around the waist tying it into a bow in the back. Cut strings to desired length. Now cut the bottom of the skirt straight across so there is no longer a loop at the bottom. In picture # 4, this creates your skirt.


Now it's time to paint your head.Picture #5... Draw with a pencil lightly how you wish your hair to be. Paint the hair yellow, let dry. Paint the face section in skin tone color, let dry. Paint on pink cheeks, let dry. Using a permanent fine tip black pen make dots for your eyes. draw a small u shape nose. Draw lips with a brown or red pen or you don't need to have lips or simply make a happy face. This is really up to you how you wish her face to look. We even dotted some freckles in her cheeks with a brown pen.


Now in picture #6 glue on a piece of green yarn around the head making it a crown...Let dry. Hot glue the head to the middle of the arms on top. We then cut a 6 inch piece of thick thread and tied it to the back of her dress through the yarn strings, cut to desired length, tying it off so we can hang it on our tree.
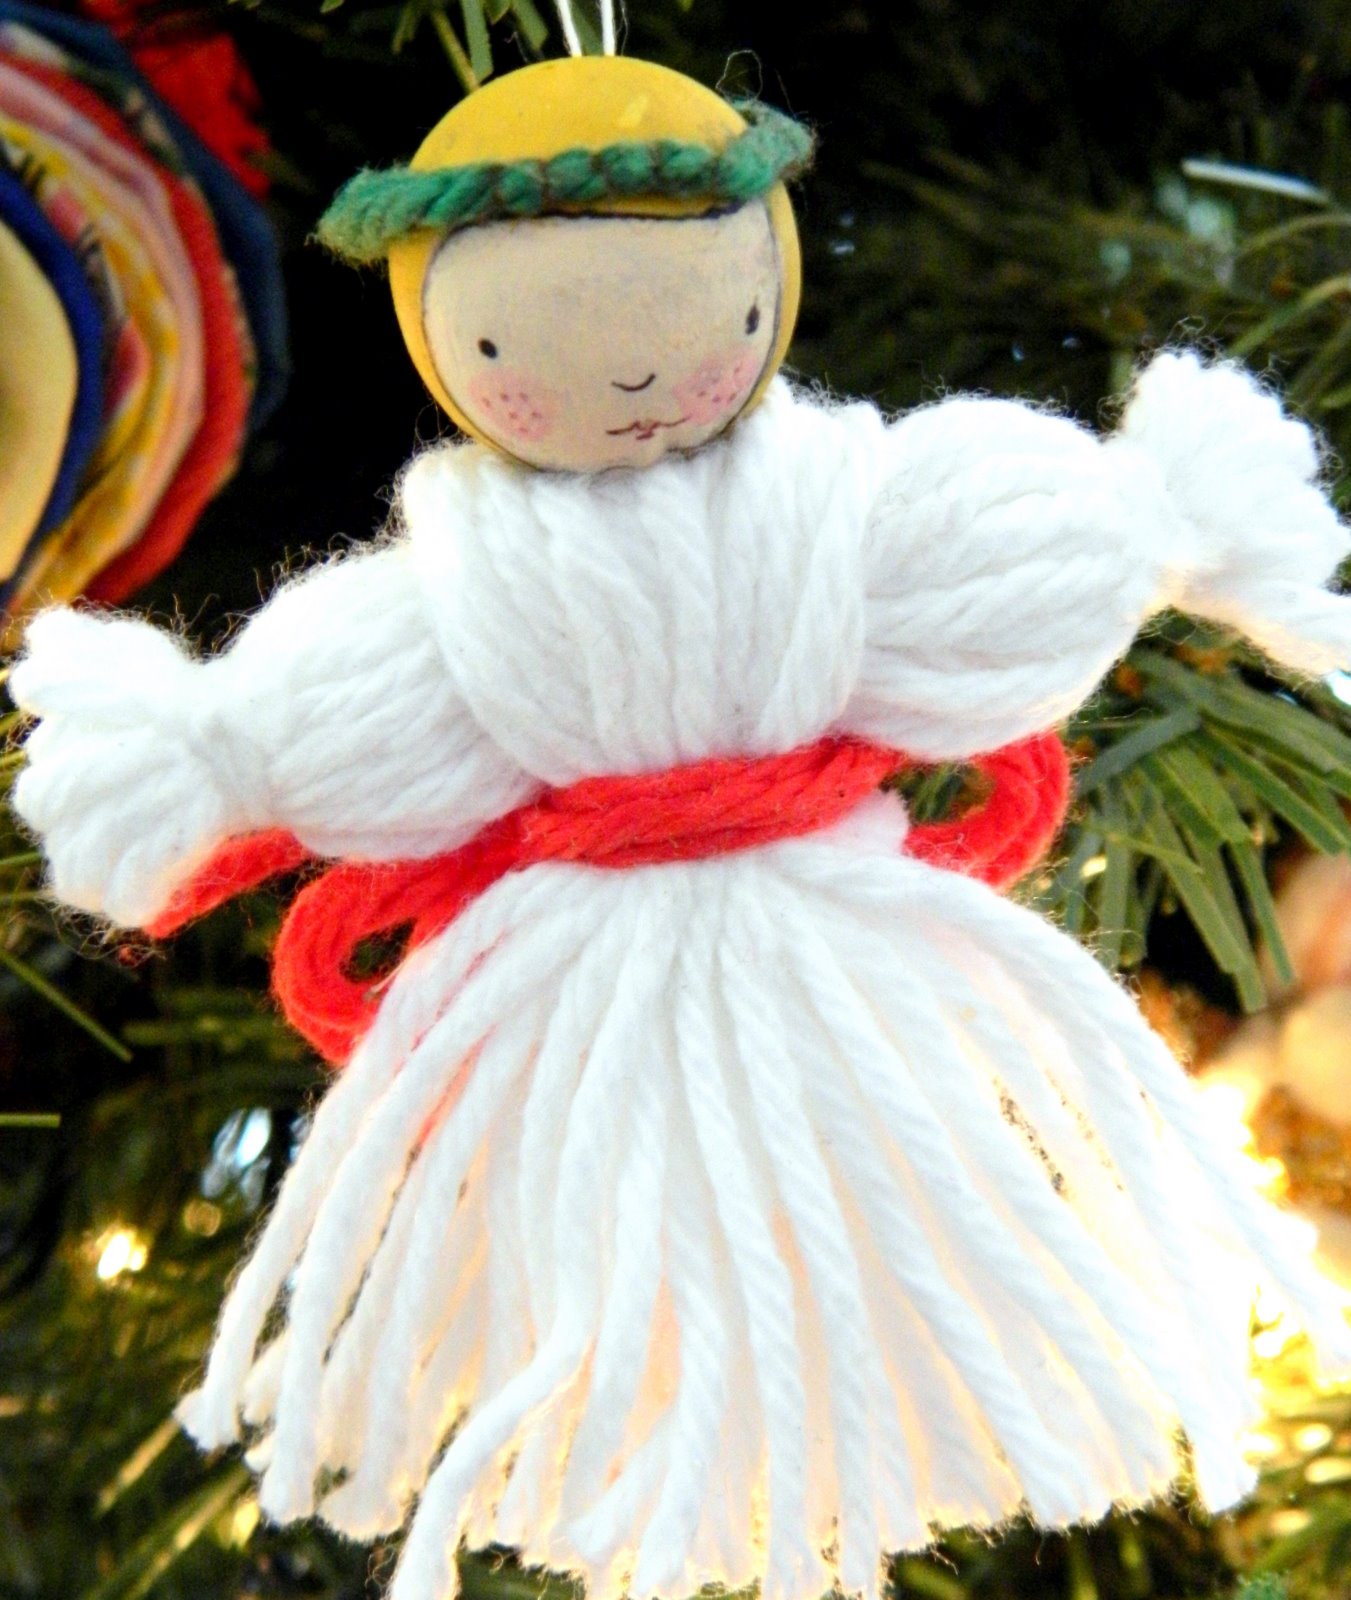
She was hung on the tree in all her light and glory...She is simply sweet.

We ended our afternoon with a big cup of hot cocoa topped with marshmallows a big candy cane and a delish cookie. We got our fill of sugar for the day, that is for sure.
It was a fun filled day which memories were made.
Wishing you a Happy St. Lucy's Day.
Love the photos. Everything looks yummy and fun!
ReplyDeleteOh my goodness! What a fun tradition!! That crown bread looks DIVINE!! And I love the sweet ornament. I thought about making one with the girls, but the face would never turn out that beautiful! :) I could see the big blotchy eyes now . . . You are so talented! Once again, I wish we were neighbors! Have a wonderful day friend!
ReplyDeleteI LOVE all your Santa Lucia traditions! Cookies, felt ornaments, Lucias crown.... So fun!!
ReplyDeleteohhhhh...I love everything about this post! Your DD looks like a living version of the angel ornaments we made for my daughter's Nutcracker friends. She's beautiful!!!
ReplyDeleteI'm bookmarking this tutorial for next year if she dances as an angel again. Thank you!!!!