Showing posts with label Kitchen. Show all posts

Sunday, October 12, 2014

In The Dining Room and Making Lists


Oops it has been almost two weeks since I last posted. It has been busy round here as I have been trying to catch up on life and meld with the new schedules and demands. I know we will eventually get it down sooner or later. I finally manage to clean up my dining room area after I had demolished the house by moving out furniture and moving in other pieces as well as going through things...It really does get worse before it all gets better. It has also taken me a little longer due to the heat here. It has been relentlessly in the upper 90's as we have moved into Fall...and our place does not have air...nor do we get very good cross breeze. Slowly but surely I am seeing the light.


Notice my newest friend here. We found this Rooster head while thrifting not too long ago for two bucks. I had to bring his whimsical charm to my home. I knew he would be happy here. He fits in perfectly. My dream is still to someday have a little flock of chickens. Oh how I miss raising chickens. Chickens bring back the best of memories in my childhood.
 Someday I will have them...someday.


I have also taken my dear Mr. Darling's advice to keeping lists and be a bit more organized. The follow through is still hard for me because I am a bit flighty when it comes to chores. I just always have been. He is a list maker and swears by them to keep him on task with his day. Me...I am trying...But there are times I forget it's even there and I don't check off things or I forget to fill it out daily. I know it's pretty bad at my age I don't have this one down. I need grace everyday... 
I will keep trying. I must admit though even making out my grocery list has been very helpful and keeps me on the right track and I am able to plan our meals out a lot better. That is a no brainer. I admit I have not always been good with taking a list to the store and let me tell you when I don't have a list or a plan...Things fall apart at home and we end up making extra trips to the grocery not to mention we probably end up spending more money by not planning well..


Next,  I need to tackle the sewing room. Since next month we will be having family over...So excited to see my Mother in Law and our son is coming home for a couple days too. It will be a great time as Mr. Darling will be officially ordained as a Pastor. Let's just hope I can keep it all up ...

Wednesday, April 9, 2014

Playful


When it comes to decor I have realized I lean towards colorful, happy, whimsical like pieces for my home. I like "different" things. For New Years we had a get together with some people from church. When they came into our home a couple ladies said our home was different than others. It was the sort of home they have never seen before. Since most people go for neutral, clean lined, plain sort of decor... It is not the norm for most to see something on the little more funky side. I take it as a compliment. I don't want to be like everyone else. I gather much inspiration from flea market magazines, pinterest as well as some of my favorite bloggers even, and I shop flea markets, thrift shops, garage sales and little shops for the goods. I certainly didn't make this style up. Yet, I am not sure what this style is called. I call it playful. My newest additions to our home is the Fork~Knife~Spoon set I found at Hobby Lobby. I waited until the resin was 50% off then went for them. I love that they look like old silverware. It was too cute to pass up.


Mr. Darling finally got them hung for me over the weekend. I also added the fabric covered letters "EAT" to the corner of the dining room. I made them around the time I made my "HOME" fabric wrapped letters. It added a playful pop to the spot... I decided to add even more color and playful goodness to it by putting out some games. Perhaps it will spark up a game night.


I also added some festive fabric flags for a touch of whimsy. 


I truly feel like a kid at heart. 
Colorful unique pieces as well as toys come home with me.
I would hope that our guests that visit our humble home will have
 a sense of wonder and playfulness...
I hope it brings them smiles and joy...
I hope they would want to come back to play.
*****

Friday, September 27, 2013

Adding Color


We are almost at 4 months in this house. I can't believe time has passed before our eyes. We are very much enjoying our own space. It brings me joy to awaken with God's promises to me every day, my family and to a bright cheerful home in decor. When we moved here I hung some of my cake/bundt pans in the corner of the dining room for a nice splash of color and whimsy. Why hide them in the cupboards when they make nice colorful pieces of art?


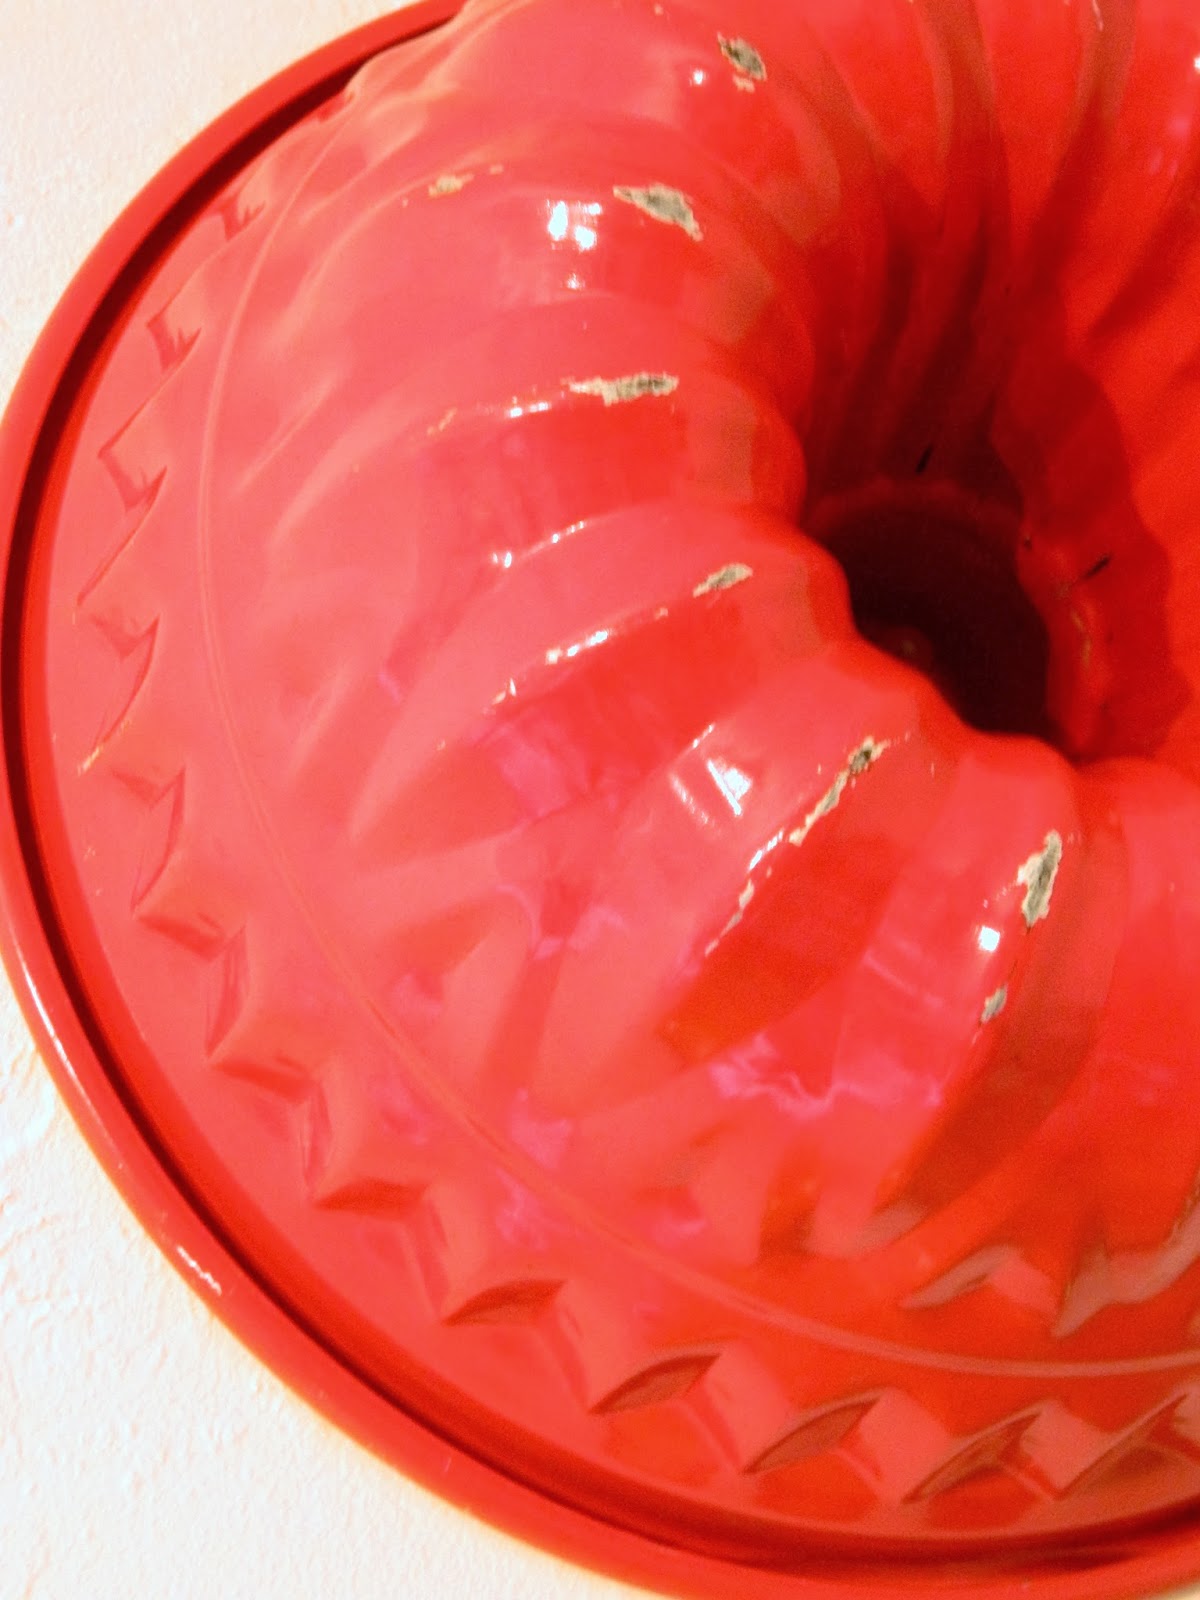
My recent thrift find was this red, worn bundt pan. I liked that it was different in form compared to the other bundts I have. I realized I actually have a collection of pans that were not necessarily meant to be a collection. it sort of happened. Then I realized I would need at least a blue one to complete the primary colors. It's funny how collections sort of happen.


One of my personal favorites is the yellow pineapple upside down cake pan. I have used it before....It just makes baking pineapple upside down cakes all the more fun to make and eat.
I also put up a new quote on the chalkboard.
It was just the inspiration I need right now...
To work on making some of my dreams real.


Here's to a great weekend ahead.
Hope all is well with you.

Tuesday, August 27, 2013

My Pyrex


I've been collecting Pyrex now for several years. It's not a big collection by any means... It's been a slow process since I will only buy if I happen upon them in thrift shops or garage sales, antique shops or gifted. I have not bought any pieces online as of yet, since they are so pricey. I have seen some at great prices, but then the shipping is outrageous and I just can't see myself buying one bowl for over $20 bucks. So I'll stick to buying them as I have...Most of the bowls have been pretty darn cheap too. I'm so happy I have a place to showcase them too. The sweet hutch I bought about 8 years ago through Craig's list...It sat in my garage for many moons, until now, I painted it and have a great place in my dining room for it. I get to enjoy it all, everyday...filled with happy colors...Makes me smile.


If you want to start a collection yourself.....Start raiding your thrift store shelves. You may just find a piece here and there. Oh and never wash your Pyrex in a dishwasher. They will last a long long time if you wash them by hand. I learned the hard way on one colored bowl...It lost its shine and the color started to fade away. So sad.


I have bought some pieces that are well worn and washed the wrong way....One reason...They are really just great bowls for mixing and storing. I don't mind too much. But, I do love me the printed colorful bowls. They are so fun. I love mixing all the colors and patterns in one space. It's art.


I love them enough to use them, they don't just sit there for looks. They were made to use.
Pretty enough for art yet basic enough to use in everyday cooking, baking & serving...

I will on the other hand need more places to display
 them as my collection may grow.
Oh what's a girl to do?
*****

Saturday, July 6, 2013

Bright Sun Shiny Day Thrift Store Finds.....


Freckles and I went on one of our thrifting excursions earlier this week. We were thrilled to find a whole big stack of books for her library...She is collecting a lot of good books as well as classic reads. As she was picking out books, I did my normal run through the isles I focus on. I was thrilled to find a whole set of Melamine Mar-Crest Melmac cups/saucers and a sugar bowl/creamer in lovely Buttery Yellow from the 40's-50's. They will be perfect for our picnics and perhaps some tea parties...All for just $6.


Another sweet find were these adorable ceramic place holders for names and flowers. I thought they would be perfect for a dinner party of 6 or even that tea party we will have when using the dishes we just got. Yeah.... I love the happy colors....right up my alley. Final cost $2.
 

Then I found these darling little juice glasses with butterflies.
 Perfect in every way. So far I was hitting the jack pot...$5 for all.


The last treasure I couldn't pass up were these two bath towels. These vintage sweeties are in awesome condition, as if they were hardly ever used. I don't mind the mixed matched look...so they came home with me. It was a bright sun shiny day...
And I didn't even break the bank. $4 for both.
 Now I have to go through stuff I don't want and donate it. I told myself if I ever come home with new stuff, then something old that I don't need or use will be donated.
 Then I won't end up a pack rat. It really helps.
Cheers to a great weekend.

Wednesday, March 20, 2013

Happy Kitschy Kitchen Finds...

Spring is in the air. I am looking forward to Springtime this year...Everything comes back to life, the flowers bloom and the colors of God's creation shines through. We are still in limbo regarding our future, jobs, home etc... I am trying so hard to be content and know that God is preparing a future place for us somewhere. Not having a place of our own is very hard on us...especially our daughter. I pray that we will soon get to settle in a new nest soon, so that we can get back to our normal routines in our very own place. Yet, we don't have a place, I am still collecting little treasures for our home. I know I probably shouldn't be adding to the things we already have to move....But, I just can't pass up the happy treasures I run into.

 I was thrilled beyond mention when I ran found this lovely robins egg blue cake stand, the crazed yellow and creamy striped bowl and another winky cup to add to my growing collection. Wouldn't it make you smile if you saw this gal smiling at you on a shelf.
I did the happy dance right there in the isle.


Another shopping spree venture with my mom, led us to these happy plates in red,
 yellow and blue.....just perfect for my kitchen...
The colors are just right.
 they are cheery and bright...
Can't wait to use them.

Lastly, I found this huge pepper shaker...I loved him...
Though he did not have his pair (salt) it didn't matter.
 I still adopted him anyway. I have several orphaned shakers with no mate...
It will be loved in my home.
Well, that's all I got...
Hope you all are having a great week.

Thursday, July 19, 2012

Creamy Brazilian Lemonade...


I know this may look like a carafe full of milk.
 It's not. It is a lovely carafe full of Brazilian Lemonade. Have you ever had it?
 It is a wonderful creamy blend of sweet lemon and lime.
 Our new favorite Summer drink next to sweet ice tea.
 
Here's the directions for this delightful drink.
***
Brazilian Lemonade
***
2 large lemons and two limes
 6 cups water
1/2 or 1 cup granulated sugar
( I used less sugar...Sweeten to your taste)
1/2 cup sweetened condensed milk
 14 ice (cubes plus more for serving)
Mix all ingredients.
Enjoy.
 
Happy Summer.

Monday, July 16, 2012

Kitschy Napkin Ring Tutorial....

 
Supplies:
*4 wooden rings Check Etsy Here
*Acrylic paint...Your choice of colors.
 I used four different colors in red, white,
robins egg blue and yellow.
*Sand Paper
*Paint brush
*Embroidery floss
*Embroidery needle
* Scraps of two fabrics in your choice.
I used four different fabric patterns since my
napkin rings were all different/mixed matched.
* I used an Ibuprofen bottle and an acrylic paint bottle for
 the circles needed to make the tiny cushions.
*Hot glue/Hot glue gun
*Scissors
*Sewing machine
*Cotton
  
First I chose my paint colors and painted four wooden rings. After they dried, I sanded it lightly all around each ring to give it an aged look. You don't have to do this...It is up to you. After I painted the rings. I set them aside. Next choose your fabrics. I did a mixed matched look, so I chose four different fabric scraps. If you want them all to match...You will need two different fabric scraps...
   
Next I took an Ibuprofen bottle and an acrylic paint bottle and used those as my circle templates. Cut each  fabric scrap about 2 1/2 inches X 4 inches. Fold each fabric scrap in half with print facing in. See pictures.
  
Take Ibuprofen bottle place on one scrap of fabric and trace around bottom of bottle with a pen to the fabric as pictured. Do this to four scraps. Now take the other four fabric pieces and use the acrylic bottle in the same manner, by tracing in pen around the bottom of the bottle onto the fabric. Now you should have four larger circles and four smaller circles.See pictures.
  
Next take each traced piece of fabric and sew right on the line around the whole circle leaving no opening. make sure you back stitch to knot each circle. After all the circles are sewn...Cut around the outer edge of your traced,sewn circle. Please see picture above. Do not cut to close to the sewn edge..
    
Now take each circle and grab each side with your fingers so that you can cut a small opening into one side of the circle. This will allow you to turn your fabric right side out. Be careful not to cut through both sides...And leave just a small opening enough to turn and fill with cotton. I used a small paint brush end to help me turn each circle right side out. See pictures above to see how it should look.
  
After each circle is turned...Your ready to stuff them with cotton. Again, I used my paint brush end to help stuff cotton in. I stuffed until they were all fairly plump. Refer to picture above. Do the same for all circles. Now you should have eight plumply circular puffs. Don't worry about sewing these closed.
    
Next you will need to measure out about 18 inches of floss in your choice of color, thread one end of floss through needle leaving a couple inches hanging from needle eye...Tie the other end of the floss in a knot. Now take the smaller circles, take your threaded needle in hand holding the thread with finger as you start to sew. Push needle up into the opening of the circle watching the other end of your circle making sure the needle goes right through the middle pulling through till the knotted end stops you. Now take the needle and go over the circle edge bringing the needle under, back up through the opening and up through the middle just as your first stitch, pulling all the way through semi tightly, repeat this step until you go around the circle about five times then tie a knot from the opening side so the floss won't go through. See picture. It should look like a tiny pin cushion. Now thread another 18 inch piece of floss and take the larger circle puff and do the same thing as you did to the small circle puff. Once you are on your last stitch, you will attach the smaller circle puff to the large circle puff and attach them together. Come up through the large circle and poke through the small puff opening through the center. Cut the floss leaving a 1/2 inch of thread and tie in a knot snugly, then trim to desired length. Now the small puff is attached to the big puff as pictured above.
Lastly you will take each puff stack and squeeze a little bit of hot glue onto the bottom opening of the large bottom circle puff, then stick it right to the top of one of your wooden rings, holding in place, until set. Do the same for the remaining puffs and rings. They are now ready for your napkins. You can even embellish the tops with a little button or seed beads. I left mine pretty plain, but still cute. If you have any problems with understanding my tutorial directions please leave me a comment so I can contact you and help you out. I just hope it was clear enough to understand with the pictures as well. Have fun sewing these. I would also LOVE to see yours.
Look how sweet it looks on a table setting.
Have a Happy Week.