Happy Rednesday!
Today I am sharing this fun little project I dreamt up in my head a couple weeks ago. It all started one day when we were out running errands and it was getting late so we stopped off at Del Taco, a fast food Mexican food joint. We ordered what they call the Fiesta Pack...It has like 6 burritos and 6 tacos in the meal.... So we ordered our food which came in a cardboard box carrier. I sat there with this box in my lap, and it hit me! The little box had this very familiar shape...Perhaps a little cottage...

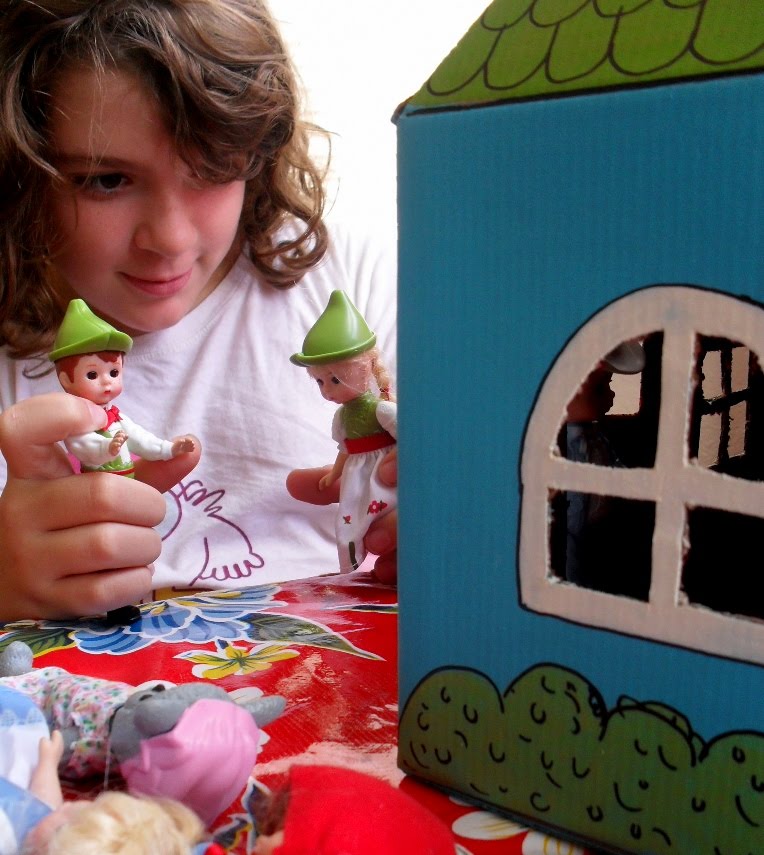
That's what I saw... I looked over at my son and said," hey! Doesn't this kinda look like a cottage?"... "Here's the roof and the walls etc"...He said, "Sure Mom!" My mind was whirling. I could see it all painted and cute in my head, before I even made it. I thought how perfect it would be for those cute Lil Madame Alexander Storybook dollies my daughter has!

The newest of the dolls came from McDonald's, where we have been collecting the Madame Alexander's since my daughter was just a little tike. I think she owns about 60 of them..
All little characters from Hansel & Gretel, Little Red Riding Hood & The Wolf,
Alice, Dorthy and her friends from Wizard of Oz to name a few.

She loved it! And that made me happy.
It is true, that kids love to play with boxes..
Add a little paint and fun and you have yourself a toy!

I am not sure if Del Taco is just a California thing... But, if you can get your hands on a box from a fiesta pack...You too, can make this sweet little cottage carrier for your child!
Here is a little tutorial of how I made the cottage!
Ingreidients:
1 taco box from Del Taco
glue
Acrylic paint of your choice
scrap papers
scissors
exacto knife
black permanet marker
imagination
red or black spray paint (optional)

First take your chosen scrap papers to use for inside back wall & floor bottom. Place box on paper wrong side and trace around back wall onto paper. Do the same for the bottom of the box...
This will be your papered floor. Set aside papers.
Carefully take the outside flap apart without ripping it until you are
able to flatten the box out completely. Refer to picture below.

I spray painted the Del Taco side of the box with red spray paint
to try to cover up the words as much as possible...Black would also work...
This is optional, or you can paper all the walls instead to cover up words.

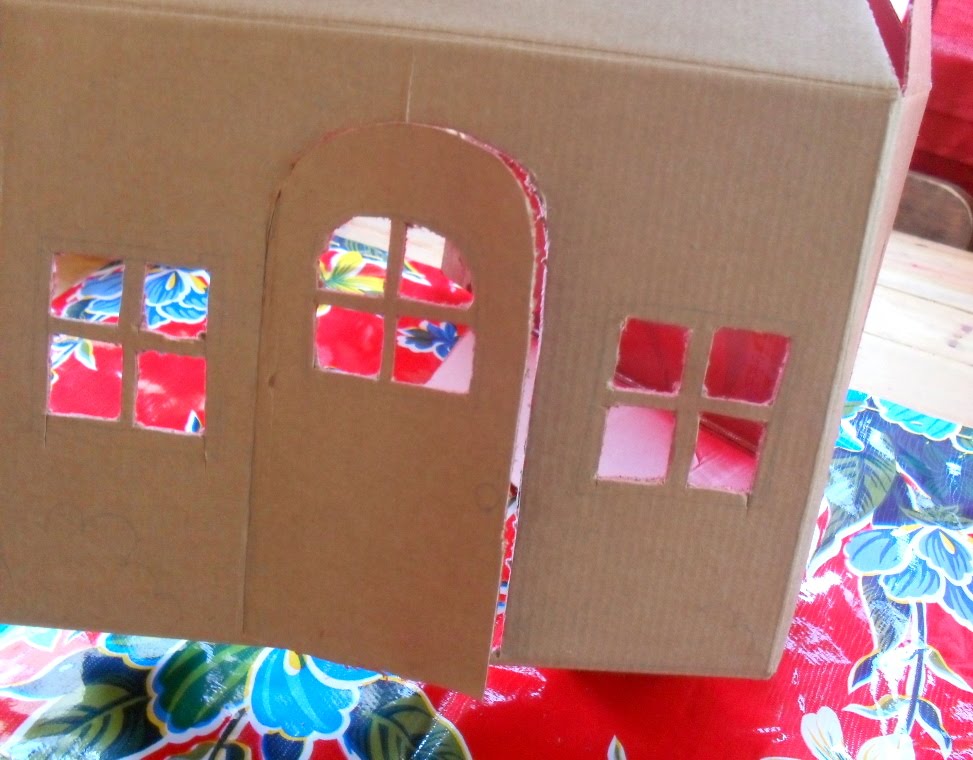
Turn box over to the plain cardboard side. draw out a door. It can be like mine or just a rectangle door. This is where your creativity comes in...Same goes for the windows. Place them where ever you want them! We just put a door on the front, two windows next to that and a window on the side.
Draw them out lightly with a pencil. I made sure to draw my door big enough for the dolls to fit through...


Now your ready to cut with the exacto knife. Make sure that an adult is doing this part, since we all know knives are sharp and can cut! Place box flat on a cutting board or a sidewalk. We used our garage floor. Carefully cut out the pieces you want to cut out. Refer to the picture above if needed. Go slow or you'll cut something you may not wish to cut. This will take a steady hand! But, it is quick!

Your cut outs should look something like the pictures above!

Now it's time to glue the side closed. Put the box back together and glue,
holding it for a few minutes until the glue has set.

Open the flaps to view inside and glue your scrap papers,
placing them to the walls and floor.
I hope the pictures below will give you the right idea!

Now you have a blank canvas to work with...Paint your cottage in your favorite colors... It's all up to you on this part...Or you are always welcome to make your just like ours!

After I painted it and let it completely dry...which was fast! I outlined all the things I wanted to give personality to with the permanent marker.., like the windows and around the door... I added it to the bushes ...
You can draw flowers or a tree on the side of the cottage too! Ooooh!!! Even some vines or a dog or cat... The possibilities are endless! This project can be done with a child any age... as long as an adult uses the knife and scissors. Have fun with it! You can store your dolls inside too! How clever is that? Tote it around, bring it on a trip. Perfect fun!

If you have the chance to do this project please let me know and share your pics. Pass on the tutorial to your friends... I hope this inspires you and gives your child a fun place to play... Eco friendly... and handmade...Now that is wonderful! Don't hesitate to message me if you have any questions on the directions. This is my first online tutorial, so it may be a bit raw. If you realllly want to do this project and can't get a box because you just don't have a Del Taco..Pleases let me know I can probably get a hold of a few and ship it as long as your willing to pay a few bucks to ship! We can certainly try to work something out...
Have a great Rednesday!!!