Showing posts with label recycle. Show all posts

Thursday, September 20, 2012

Skelly Nelly


I took the whole Summer off from making anything for my shop on Etsy. It was actually quite nice to just hang out, relax, not a worry about anything. And yet, I also missed creating. Creating new things makes me happy,,, It makes me happy when others are happy with my work too. Well, here ya go. I finally finished something. Since Halloween is just right around the corner...I thought heck, I'd better make something. I have a few more Halloween dolls in my head too... Introducing Skelly Nelly. Isn't she cute?

You can find her over in my
 Shop Here.
I am also willing to take a few orders for her.
 I can do more traditional Halloween colors if prefered.
 
Hope y'all like her.
Come back tomorrow
 ( Friday September 21)
  For The Thankful Tree Giveaway which I mentioned in my last post....
Have a Great Day.

Tuesday, June 19, 2012

Summer Flowers In A Can Project...

 
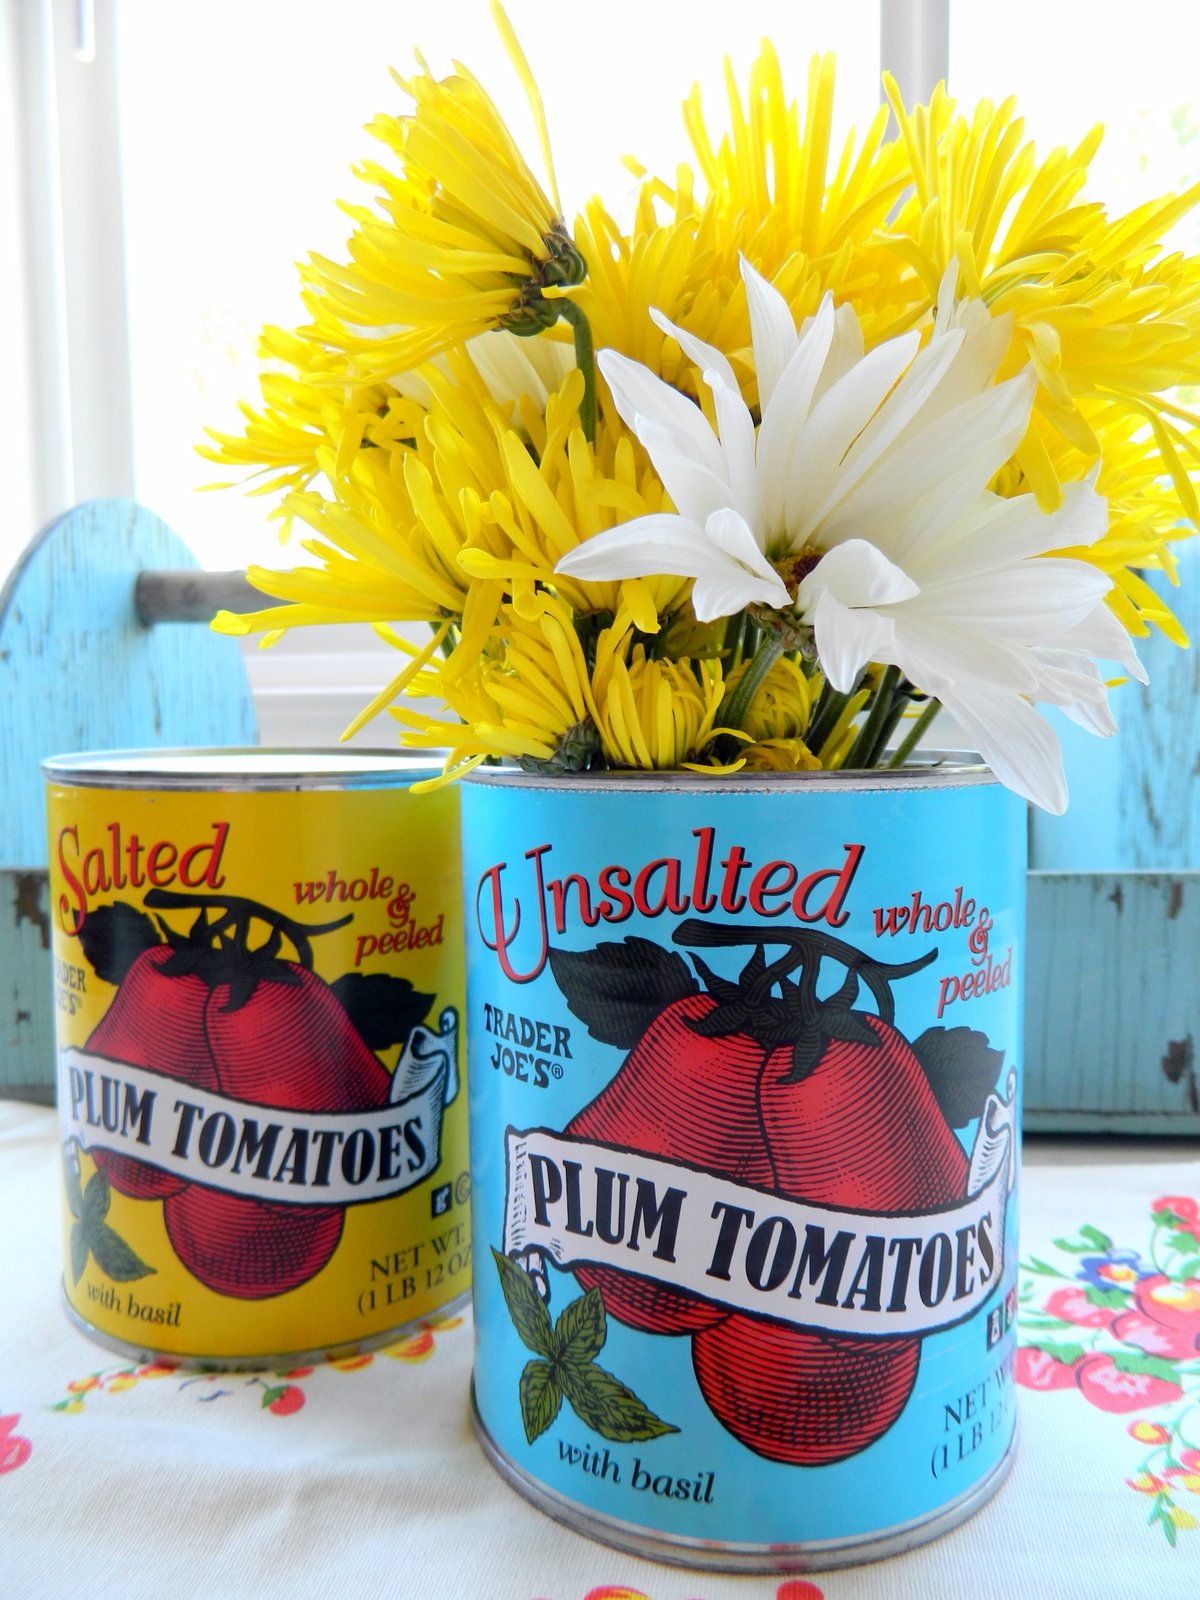
I was shopping in Trader Joe's the other day and spotted these colorful, adorable cans of plum tomatoe's. Silly me knew just what I would want those cans for and it wasn't the tomatoe's inside...of course they wouldn't go to waste though. I picked up both cans for less than $2 a piece. I also picked up a lovely Summery bouquet of simple flowers for this little project.
   
I opened the cans and poured the tamaters in a container which I will use in a couple recipes for dinners. Wash the cans out with hot water and soap being careful not to get the paper on the outside really wet. Dry can inside and out. I then filled a small glass canning jar of cold water, cut the flower stems to fit, placed the flowers in the canning jar then slipped the jar right into the tomato can. Voila. A fun, colorful Summery vase. The designs are vibrant, fun and whimsical. I love them.
 
Now to keep the paper label safe...you can brush on a coat or two of Mod Podge to seal it...Then you can store it without worry of damage to the label. Don't you just love clever ways to re~purpose the cutest cans? I am sure you can think of other ways to use these fun cans...Perhaps you can use it for storing pens/pencils or kitschy gadgets. Or even just a pretty little can sitting on a kitchen shelf.
Thanks Trader Joe's...I love these cans.
 

Wednesday, April 25, 2012

A Cherry Cheery Hello...


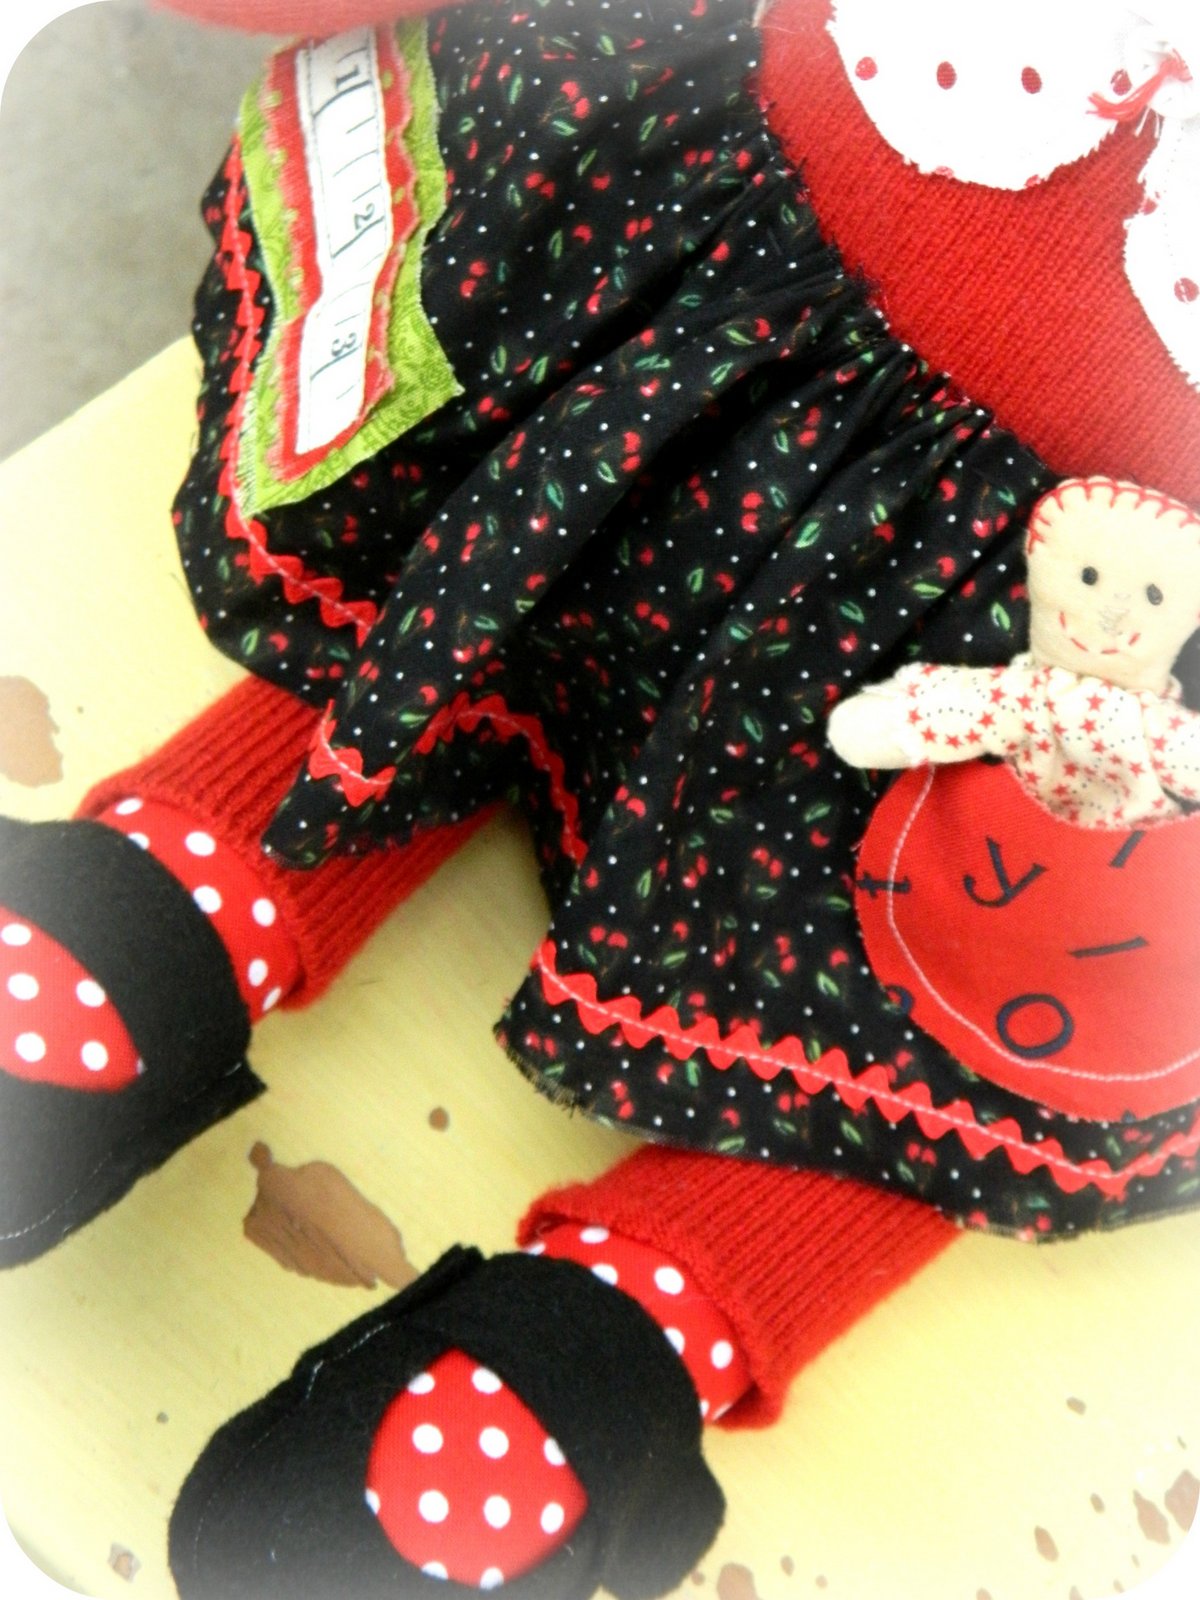
Hope you all are having a cherry cheery day. Just popping in to share with you my newest upcycled stuffed plush. She's a cherry, can you tell? Though my daughter thinks she looks like an apple. (sigh).
  
She has been adopted.
Thank you for coming by.

Tuesday, April 24, 2012

Using Recyled Materials In Crafting...

  
Hey there... Just me, popping in to share a little of what I have been up to lately. In my recent plushie projects I have been using vintage, recycled elements with a bit of new. When I see everyday things that have been discarded, I see new potential for those items. Like bottle cap tops for instance. We have a local Soda Pop Shoppe in town where my kids and I go to have a little treat. The place is filled with all kinds of soda pop's and drinks...Many of them remind me of yesteryear...They have a sweet vintage nostalgia to them...Cool thing is many of the bottle caps are really neat. Every time I go in, I ask the lady if I can take a handful of these little gems...I usually pick 10 ~20...and their free.
Perfect for using in my plushies and artwork.
  
I also collect old discarded wool sweaters or wool blankets for my projects. Some I find at garage sales or thrifting. They are cheap too. Perfect for creating plushies or pillows. The rest is just a bit of imagination. Wool is perfect for many critters and the bottle caps are used as eyes or buttons. Why throw them away when you can recycle and upcycle? I just finished up a cherry plush doll and finishing up an owl... I am using Starbucks Coffee caps for the eyes...What a hoot.
 
It's fun to create from these treasures.
Giving something old and unwanted new purpose...
Making it art for someone else to enjoy. I love that feeling.
Hope this will give you some inspiration.
Have a creative day.

Tuesday, April 10, 2012

Springtime Posies...


The flowers are blooming around here. I love this time of year as the colors brighten up the yard. It makes me smile and brings happiness to my soul when I look at the blooms and posies. In honor of Springtime Posies I was inspired by the beauty of God's blooming flowers and created this colorful girl from wool and cotton fabrics...All handmade with lot's of love and the colors of the rainbow.
   
She is
 SOLD
as of this morning.
Thank you
Have a Posy Day.

Saturday, January 22, 2011

Sunshine From The Sowing Box


Did I tell you that we are experiencing Spring/Summer like weather here in our area? WOW! Everywhere I look there is snow except here...California has snow, but it's all in the mountains...We got up to the high 70's today...last week was hotter! I decided...Heck, if we are going to have this sort of weather I might as well make some projects that will fit the season. I dug out my vintage sheet stash from the sowing box and chose some happy sunshine colors. I have been using these sheets in quilt projects and pajama's for Freckles. She loves the light weight flowy feel of the fabrics. Perfect for warm weather.


If this isn't bright and happy I don't know what else to think! I got to cutting and planning. Since it is also Citrus season with all the yummy oranges and lemons growing I decided to make a couple things for her to enjoy. As a school project we have been doing citrus studies and projects plus went on an educational fieldtrip this weekend which I will share in the next couple of days.
 

I put together this quilted scrappy shoulder bag using
 the sheets and a couple misc. fabrics.
 It is so cute!
 

But wait...there's more... I decided to sew a
 sweet sunshine skirt to go with the shoulder bag.


I found this sweet tutorial for this very Sunshine Skirt!
 Perfectly sweet and easy too!!!
Freckles wore her new skirt and shoulder bag today...
It was perfect in this warm weather!
 On another note.... I started working on a Waldorf inspired doll for Freckles too! She had always admired them in the Magic Cabin catalogs...But we can't spare the amount of money they ask. So I am trying to put my spin on making one that represents her with Freckles and all!


Doesn't she look happy?
Wishing you a Happy Sunshiney day!!

Friday, September 24, 2010

Getting Ready For Bed... Sewing Pajama Pants From Vintage Sheets...


Finally I have gotten around to this sewing project. I have collected some vintage sheets to make some pajama's for my daughter then I will use the scraps to make her a matching quilt...  There are so many Autumn projects I have on my list. Several include re-painting her antique iron bed, and dresser as well as her hope chest... Then adding in some refurbished decor to her room. She had decided she wanted her room to be shabby chic & feminine with robins egg blues, yellows, greens, white and some pink. So the sheets were bought thrifting for such projects. We found these sheets for about 2 bucks each... Yahoo!
 

I will be making a couple nightgowns and one more pair of p.j. pants from the sheets. She loves her first pair. She put them on late this afternoon and has been wearing them since... She is ready for bed and the sun isn't even down as I write this post. As Home schoolers we can wear Jammie's all day if we want... which she actually loves to do much of.  The girl has more Jammie's then regular clothes I tell you! She loves comfort. Well, I guess you can say she is like her mama.. Since well, I do the same thing, LOL!
 

The pajama pants turned out utterly darling and feminine...
The flowers are sweet ... and I added a little bit of lace trim..
To make her feel even more dainty!


Tonight she will be tucked in her vintage sheets wearing her vintage sheet p.j bottoms while I read her a  bed time story. We read almost every night. It has become a ritual since my children were babes. it is a wonderful way to bond, and settle down for a long nights slumber. Bedtime is a cozy time... Even cozier when you have special pajama's don't you think?


3 hours to go before bedtime!
Night ya'll!

Wednesday, September 22, 2010

Storybook Cottage Doll Carrier & Tutorial


Happy Rednesday!
Today I am sharing this fun little project I dreamt up in my head a couple weeks ago. It all started one day when we were out running errands and it was getting late so we stopped off at Del Taco, a fast food Mexican food joint. We ordered what they call the Fiesta Pack...It has like 6 burritos and 6 tacos in the meal.... So we ordered our food which came in a cardboard box carrier. I sat there with this box in my lap, and it hit me! The little box had this very familiar shape...Perhaps a little cottage...


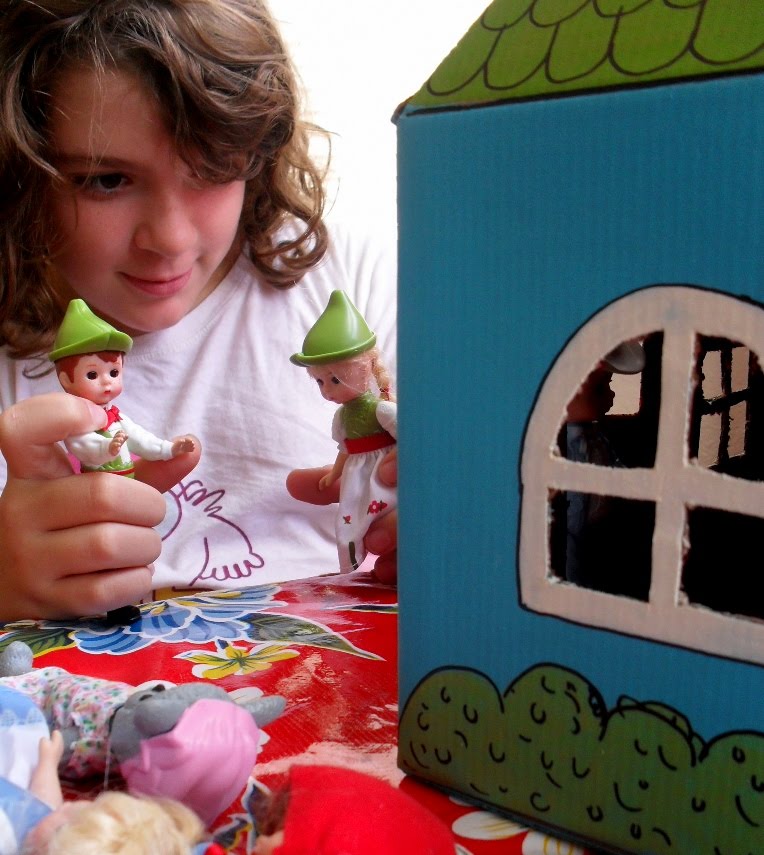
That's what I saw... I looked over at my son and said," hey! Doesn't this kinda look like a cottage?"... "Here's the roof and the walls etc"...He said, "Sure Mom!" My mind was whirling. I could see it all painted and cute in my head, before I even made it. I thought how perfect it would be for those cute Lil Madame Alexander Storybook dollies my daughter has!


The newest of the dolls came from McDonald's, where we have been collecting the Madame Alexander's since my daughter was just a little tike. I think she owns about 60 of them..
All little characters from Hansel & Gretel, Little Red Riding Hood & The Wolf,
 Alice, Dorthy and her friends from Wizard of Oz to name a few. 
 

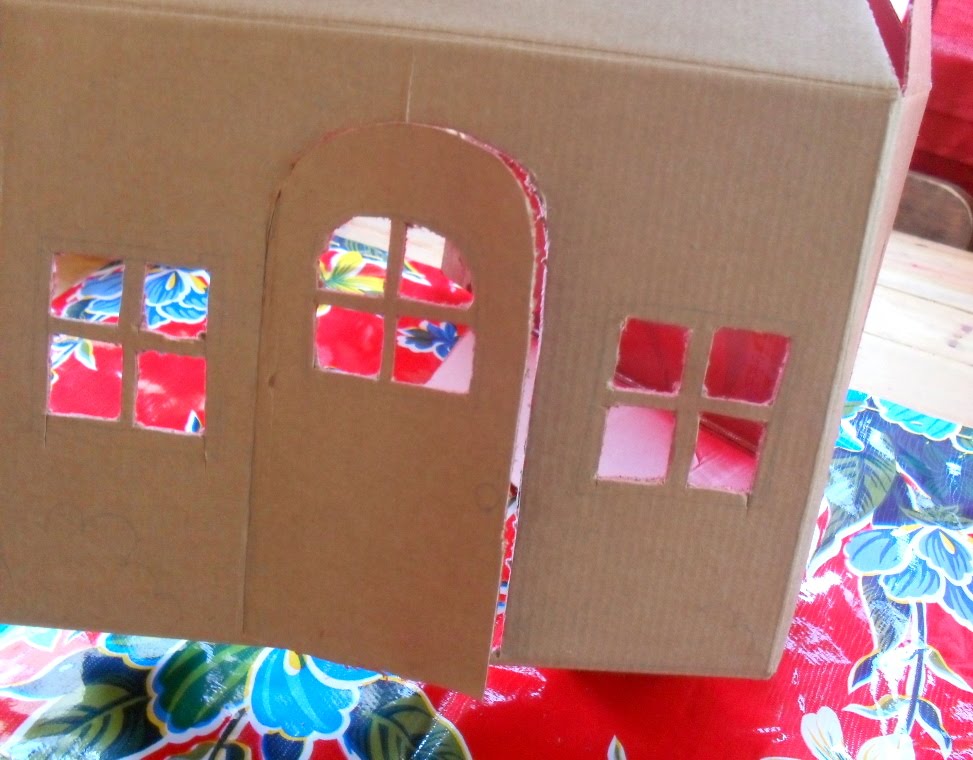
I took the box apart, drew a door and windows placement, cut them out with an exacto knife, Put the box back together, painted all the details in. Then drew around everything to add detail with a black permanent marker. There you have it... it was just as I imagined it to be for Freckles dolls!


She loved it! And that made me happy.
It is true, that kids love to play with boxes..
Add a little paint and fun and you have yourself a toy!


I am not sure if  Del Taco is just a California thing... But, if you can get your hands on a box from a fiesta pack...You too, can make this sweet little cottage carrier for your child!

Here is a little tutorial of how I made the cottage!

Ingreidients:
1 taco box from Del Taco
glue
Acrylic paint of your choice
scrap papers
scissors
exacto knife
black permanet marker
imagination
red or black spray paint (optional)


First take your chosen scrap papers to use for inside back wall & floor bottom. Place box on paper wrong side and trace around back wall onto paper. Do the same for the bottom of the box...
This will be your papered floor. Set aside papers.


Carefully take the outside flap apart without ripping it until you are
able to flatten the box out completely. Refer to picture below.


I spray painted the Del Taco side of the box with red spray paint
 to try to cover up the words as much as possible...Black would also work...
This is optional, or you can paper all the walls instead to cover up words.


Turn box over to the plain cardboard side. draw out a door. It can be like mine or just a rectangle door. This is where your creativity comes in...Same goes for the windows. Place them where ever you want them! We just put a door on the front, two windows next to that and a window on the side.
 Draw them out lightly with a pencil. I made sure to draw my door big enough for the dolls to fit through...
 

Now your ready to cut with the exacto knife. Make sure that an adult is doing this part, since we all know knives are sharp and can cut! Place box flat on a cutting board or a sidewalk. We used our garage floor. Carefully cut out the pieces you want to cut out. Refer to the picture above if needed. Go slow or you'll cut something you may not wish to cut. This will take a steady hand! But, it is quick!


Your cut outs should look something like the pictures above!


Now it's time to glue the side closed. Put the box back together and glue,
 holding it for a few minutes until the glue has set.


Open the flaps to view inside and glue your scrap papers,
placing them to the walls and floor.
 I hope the pictures below will give you the right idea!


Now you have a blank canvas to work with...Paint your cottage in your favorite colors... It's all up to you on this part...Or you are always welcome to make your just like ours!


After I painted it and let it completely dry...which was fast! I outlined all the things I wanted to give personality to with the permanent marker.., like the windows and around the door... I added it to the bushes ...
You can draw flowers or a tree on the side of the cottage too! Ooooh!!! Even some vines or a dog or cat... The possibilities are endless! This project can be done with a child any age... as long as an adult uses the knife and scissors. Have fun with it! You can store your dolls inside too! How clever is that? Tote it around, bring it on a trip. Perfect fun!


If you have the chance to do this project please let me know and share your pics. Pass on the tutorial to your friends... I hope this inspires you and gives your child a fun place to play... Eco friendly... and handmade...Now that is wonderful! Don't hesitate to message me if you have any questions on the directions. This is my first online tutorial, so it may be a bit raw. If you realllly want to do this project and can't get a box because you just don't have a Del Taco..Pleases let me know I can probably get a hold of a few and ship it as long as your willing to pay a few bucks to ship! We can certainly try to work something out...
Have a great Rednesday!!!