


Welcome back to Frolicking Freckles Summertime Vintage Style Series where we are studying the 1940's as a Summer School project. Over the weekend we went shopping and saw that the peaches were on sale....Unfortunately we don't have a peach tree...So the next best thing is buy them. One thing though, I will not pay full price for them. As a frugal Mama, I will wait for sales then pounce on it. So at 50. cents a pound I bought about 20 pounds. I saved a ton, since regular price is almost $2.00 a pound. And yes I am going back for more. Okay so....As our Summer project is on the 1940's...I decided since I had all this fruit, that we would can them. I have been canning for years. Freckles has helped me in the past, but this time I was going to teach her how to do it step by step, so she could do it on her own.


During World War II, Victory gardens made an important contribution to the home-front effort by producing a significant amount of food (approximately 40 percent of the vegetables consumed in 1943) and by providing a way to contribute to the war effort for those who could not fight on the battlefield. The book "Eating for Victory: Food Rationing and the Politics of Domesticity" by Amy Bentley contains a chapter examining victory gardening and canning during the war, gender politics, and how the nation responded to the call to do their part in the war by gardening and canning.
Canning was an important part of the victory garden program, as it allowed the bounty of the harvest to be preserved for the winter. Canning was a common activity during the war: in 1942, 64% of women canned food for household use; in 1943, the percentage was 75%. On average, families that canned put up 165 cans or jars per year during the war.
Although most of the canning was done at home, about 5,000 community canning centers were established across the country. These centers were places where specialized equipment like pressure canners (devices that allow the food to be heated beyond the boiling point of water, thus killing pathogens that can survive in boiling water) or very large hot water baths could be used for a fee — sometimes the user paid per can or jar, sometimes they donated a portion of their canned goods to the needy. Although 5,000 is vastly more than we have today, the centers were used by only about 1% of those who canned in 1943. Most people didn't know they existed, already had basic equipment, didn't need a pressure canner, or knew someone who had what they needed.
(Excerpt by:Eat Local Challenge)


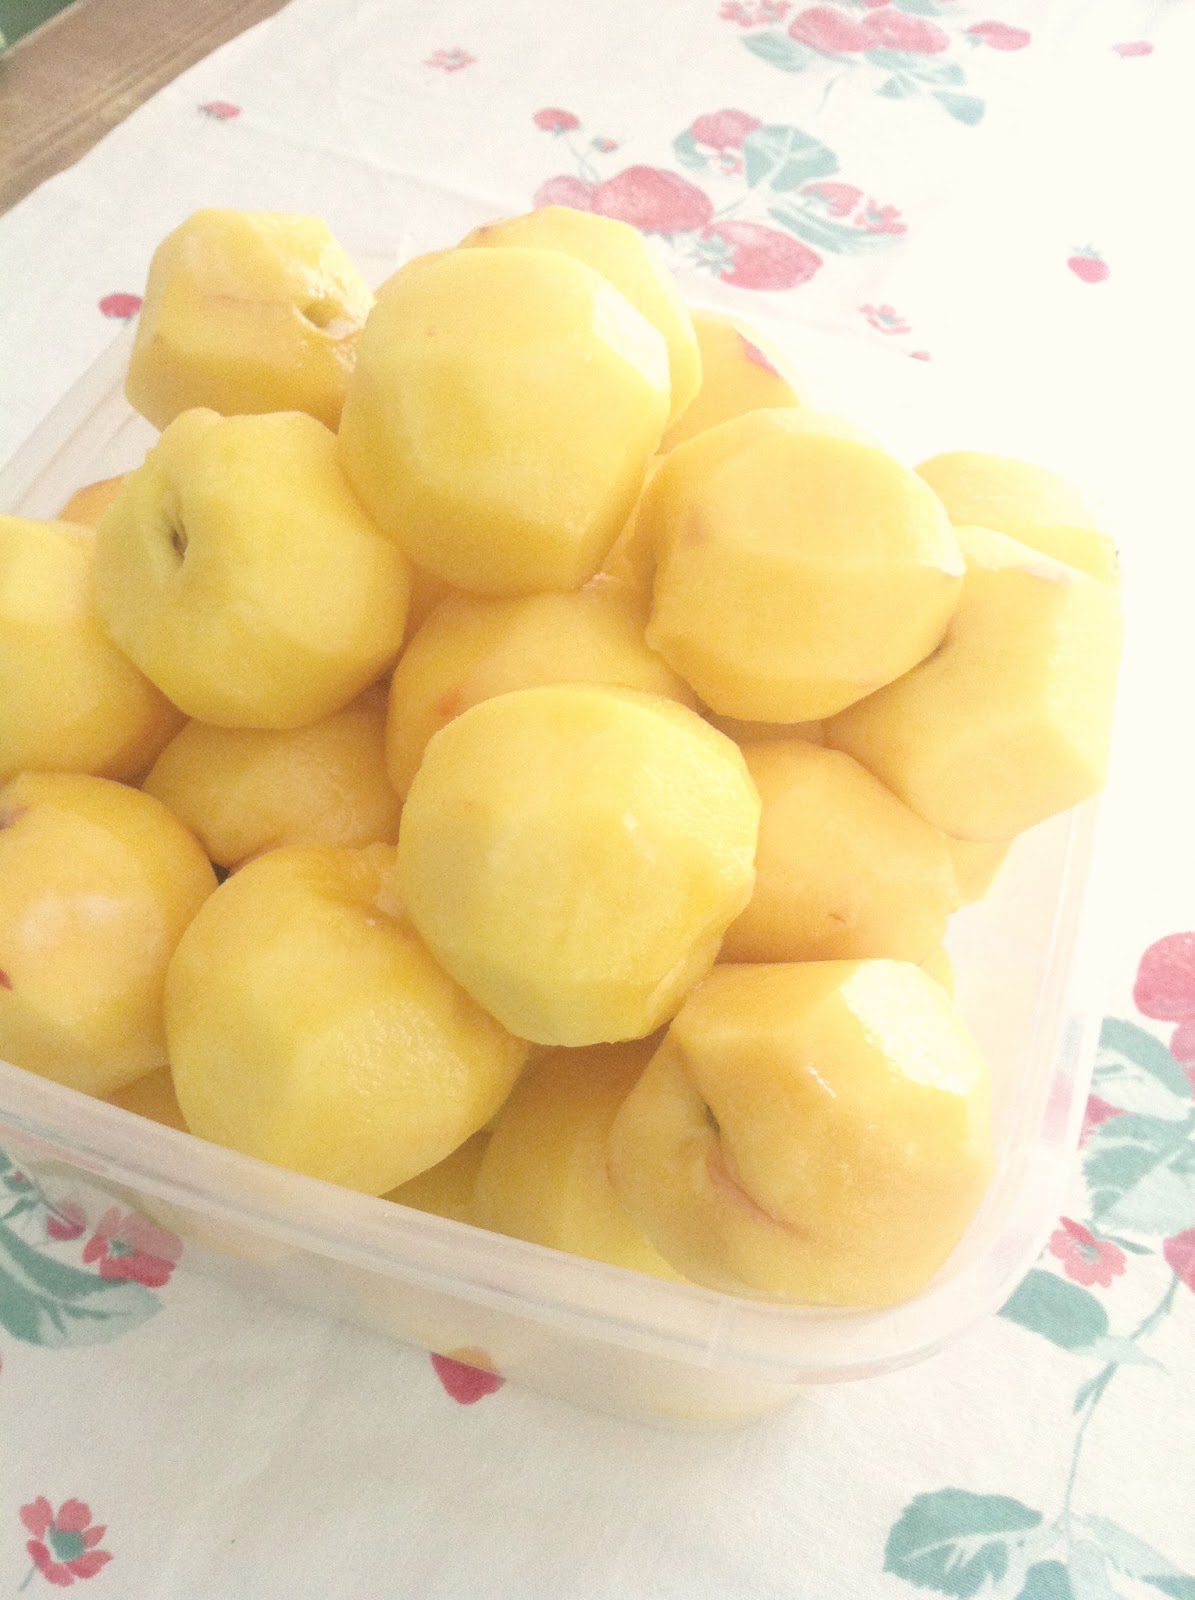
The whole process took several hours and some tears, but we got through it.
Freckles cut, cooked, and canned them all on her own.
Now, this Mama is very proud.


The "Of Course I Can" poster was created by the U.S. War Food Administration in
1944 as part of the nationwide victory garden program


She canned 6 quarts and one pint of golden peaches, which we will enjoy...And after we buy more peaches and do the process all over again, we will have some for the Winter to enjoy. I find canning not only rewarding but a healthy option...Since most all food is over processed, over sugared and not to mention expensive. We have enjoyed fruit of all kinds plus jam preserves over the years, and I know where it came from, because we canned it ourselves. We have been blessed in this new home with a nectarine, apricot and cherry tree...Which we are already gleaning from...And that is free food for my family with just a little sweat... We produce some delish yummies for the coming months. Next on my list is getting
a pressure cooker to do veggies. Can't wait for that. And well, I know we are not in the same circumstances as in the 40's during the war...But I do declare, I am saving money and feeding my family wholesome goods. I take pride in that. And, of course my family appreciates every bite.


I would really love to encourage you, if you haven't....to start canning, teach your children this lost art...It's easy really, just takes some dedicated time in doing it every year. You can easily find jars on Craig's list, thrift shops, garage sales, or new in stores for pretty cheap, a canner for about $25, the rest of the supplies are pretty inexpensive as well. Then seek the sales, or use your fruit and tamaters, you can also make pickles and relishes. You can learn about canning by searching the web; "canning with kids", buying a book and reading up on it. It will be a rewarding project for you and your child and helps build great relationships between the two.
Some Resources:

*****

1940's House
This is quite interesting to watch. We got ours from the Library.
You can also stream it from the computer or from Netflix...
Or you can buy it from Amazon ( kinda expensive).
*****

****

Add pretty fabrics to your jars and give away as a gift
***
Hope this helps...Hope you enjoyed this post. More coming soon.


